3/7/2011
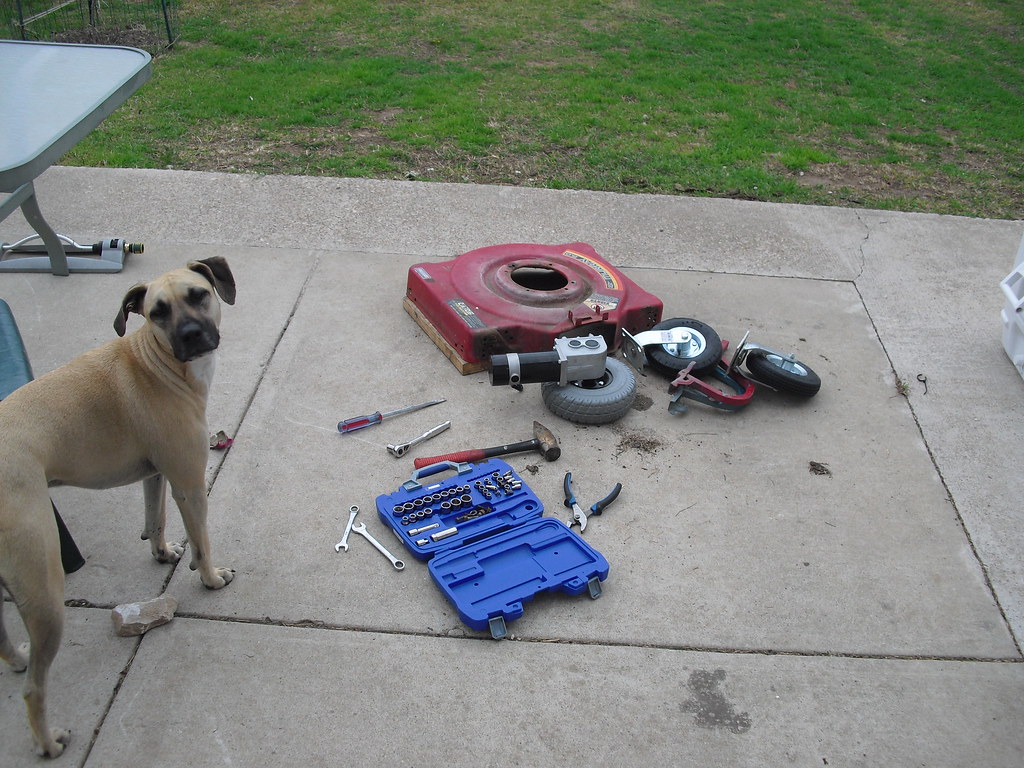
I started the mowbot project by dismembering a push lawn mower and electric wheelchair and ended up with the pile of parts alongside my lovely dog Sadie. It is hard to do anything outside without the dog involved and she is good company.
So, this is how it started. No plans. No whiteboard. No idea what to do. I just knew that the first goal was to sit in the shade and drive the lawnmower around the yard.
To kick off the build, I started laying the various parts out to figure out how they might fit together. Pictured here are two wheelchair motors with wheels attached, two caster wheels from a furniture dolly, a lawnmower frame, honda civic trunk hinges, and some various tools. The big hammer is key.
3/10/2011
A good friend of mine allowed me to use his metal shop for a few days, so I was able to fabricate up the front end. This is truly my first metal fabrication project.
After measuring and cutting the metal stock, I clamped it into position and drilled holes through the metal and the mower frame. Then I connected the metal parts to the frame with bolts through the drilled holes. Once the front end was assembled, I was free to start figure out how to attach the rear wheels and motors.
At this point I still had no idea how any of the rest of the mower was going to look or work. As usual, I was just winging it and it was making pretty good progress. After a few hours of situating the wheel and motor parts, I settled on a position for them and set out to make a frame to mount them to.

3/11/2011
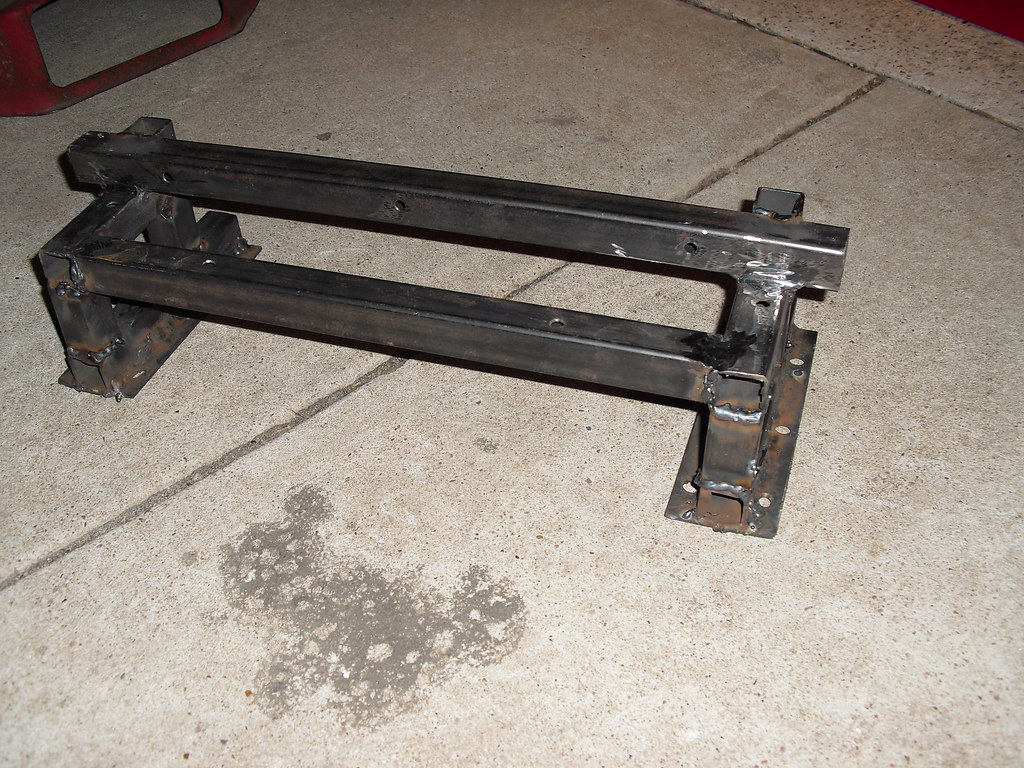
The rear sub-frame starts out as sections of square tube bolted to the mower frame. Once the bolts were in place, I was able to weld up the tube pieces into a single frame.
Notice that the front and rear sub-frames are bolted rigidly to the mower chassis. This is going to prove to be a problem later on. For the first iteration of this project, I was not too worried about losing the ability to adjust the height of the mowing deck.
Also worth mention is that the two sub-frames are not connected to each other by anything other than the mower deck. This was done to reduce the rigidity of the mower by using the flexibility of the mower deck itself to allow for small changes in wheel heights when going over bumps.
3/17/2011
This is a picture of the rear sub-frame in a mostly complete state. Remaining work includes TONS of grinding. Did I mention my limited welding experience? Well, that turns into ugly welds that need to be ground down and welded again in some cases. There is probably 16 hours of just grinding work put into the frame as you see it here.

The parts are laying around the mower deck, awaiting assembly. The sub-frames attach to the deck using twelve 10mm bolts, so putting everything together is a bit of work. It probably took an hour to bolt up all of the parts once they were ready.
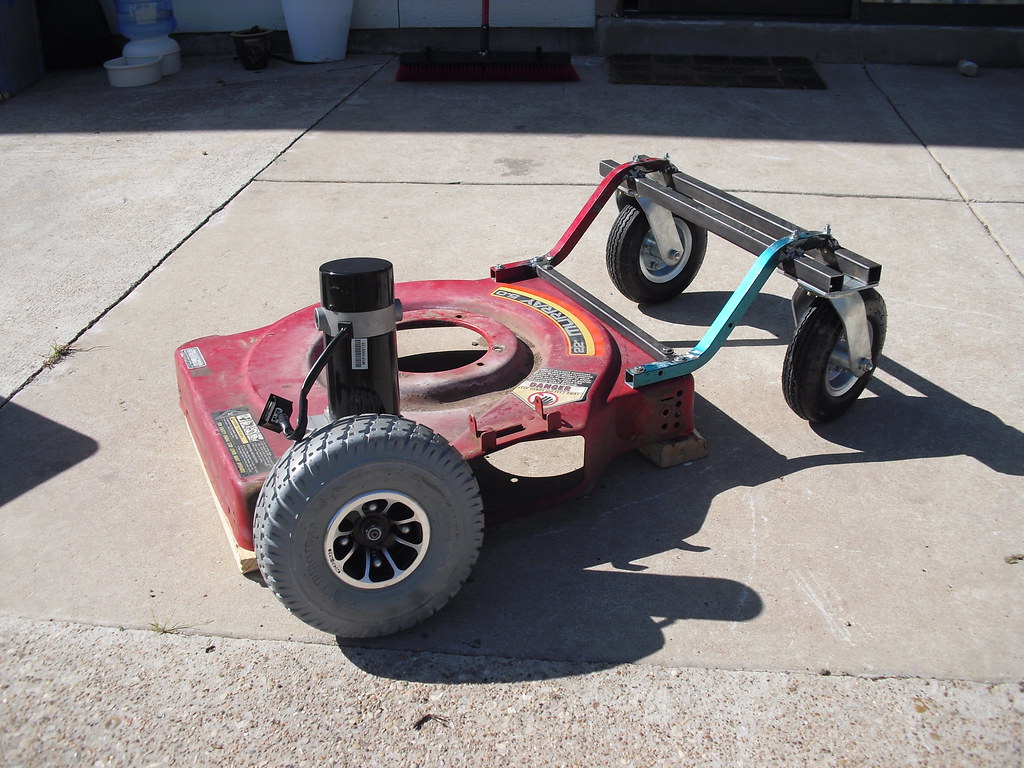
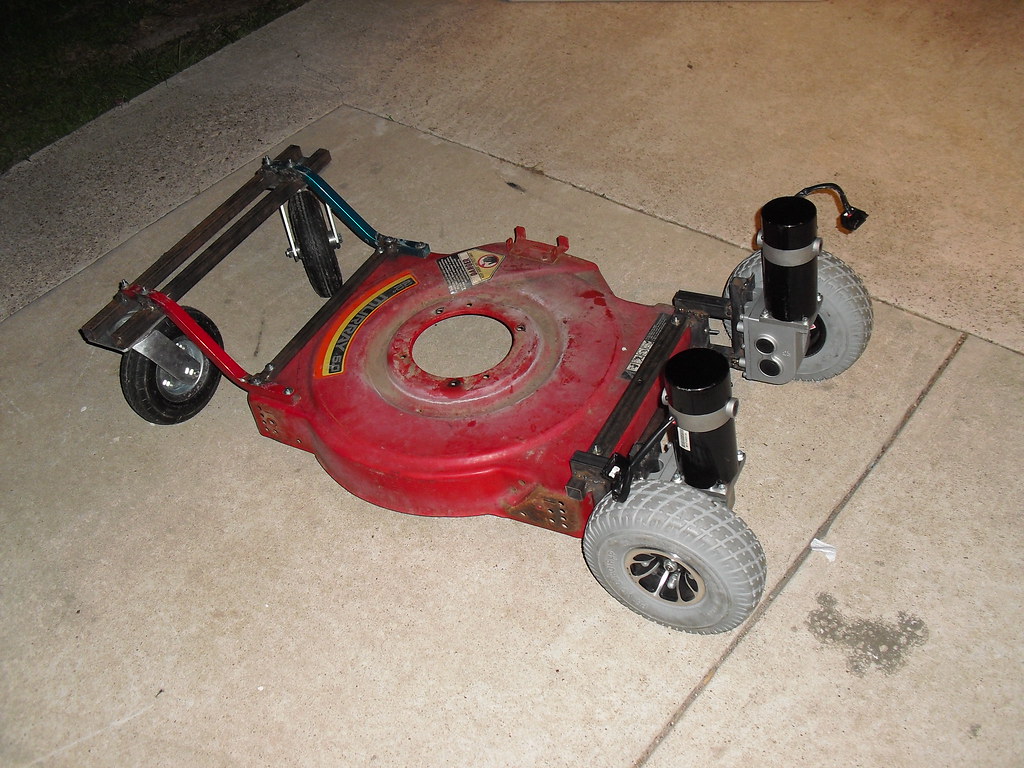 Once the sub-frames were bolted to the mowing deck, you can start to see the basic shape that the mower is going to take. This is a rolling chassis, but the motors have brakes and thus do not roll. Fortunately the motors also have a transmission between their output shaft and the wheels, so it is possible to disconnect the motor and allow the frame to roll freely.
Notice that there are still no motors, controller, or really anywhere to put those important devices. Fortunately I kept the old wheelchair control systems and was able to borrow a car battery to test everything out.
So, it supports my weight and moves, but where is the mower? I will have to find a more permanent place to mount the batteries before it can mow the yard. The control system from the wheelchair is also wired, which defeats the purpose of the project, so that also has to get replaced soon.
4/15/2011
I was able to drive the mower chassis around in the yard just under a month after the chassis was put together, which is very rewarding.
To get to this point, I had to come up with a way to drive the joystick on the wheelchair electrical system from a remote control.
Enter the Frankenstein remote control system pictured at the right.

This amalgam of electronics was a terrible idea, but it did afford me the opportunity to drive the mower around for short bursts.
Unfortunately this did not work well. The on-board electronics kept resetting, and would refuse to power back up if the joystick was not at 100% center position. I have removed the self centering spring from the joystick, so it was quite rare that it was ever centered properly.
The Traxxas receiver pictured here is an AM type radio, which is absolutely horrible if you are doing anything that requires precision. So, it is good that this didn't work well, or else I might have been tempted to try running a lawn mower with it. That would have proved to be absolutely scary if I had tried to move a gas powered mower with this setup as the AM channels are full of noise and the engine itself causes a lot of interference. Read: The mower would do whatever it wanted with the engine on. Yikes.
Rc wheelchair joystick from Daniel Epperson on Vimeo.
This comment has been removed by a blog administrator.
ReplyDelete